Take your running to new heights with the altimeter in Apple Watch Series 3

Are you taking full advantage of all the neat new features in your shiny Series 3 Apple Watch? Cellular connectivity grabbed the headlines, but that isn’t the only hardware addition Cupertino managed to cram into a wearable that was already bristling with sensors.
Apple Watch Series 3 models also boast a barometric altimeter. If you think you don’t need one of those, think again. The altimeter makes Series 3 watches the ideal companion for hill workouts. That’s a type of training you really should be doing but probably aren’t.
What‘s so great about a barometric altimeter?
GPS can give you an accurate map of where you have been, but it is not so reliable at telling you how high you’ve climbed. That’s why serious GPS sports watches also include an altimeter –– a sensor that measures your altitude, or how many feet (or meters) you are above sea level.
The new barometric altimeter in Series 3 watches uses changes in air pressure to estimate this. Simply put, the higher up you are, the lower the air pressure, thanks to gravity and physics and stuff. Even climbing a single flight of stairs will result in a subtle but measurable change in pressure. This is what the Activity app uses to estimate how many stairs you have climbed. (If you have an earlier Apple Watch model — Series 0, 1 or 2 — you can still get altitude and stair climbing measurements, providing your iPhone is in range. Those Apple Watch models rely on the altimeter in your phone.)
When you are running or cycling, hills have a big impact on the intensity of your workout and the calories you burn. So for logging your workouts, it is important to know about the hills you climbed. Apple’s built-in Workout app records this with the Elevation Gain metric, which is the total number of feet or meters you climbed during the workout.
Why you should try Apple Watch hill running
Hills may slow you down while you are running up them, but if you train on them a lot, they will eventually help to speed you up.
The success of Kenyan runners, for example, comes in part from all the high-altitude training they do in the Rift Valley. Breathing in low-air-pressure environments forces your cardiovascular system to work harder to deliver oxygen to your muscles.
Running up high, steep hills makes for a particularly punishing workout. When you get used to training in those conditions, marathon seems like a walk in the park by comparison.
But you don’t need to reach high altitudes to get the benefit of hill training. Any hill will do. And it is not just for distance runners, either. Hill repeats are an integral part of many athletes’ conditioning programs. Football players, for example, can use hill sprints to improve their burstability off the line of scrimmage.
Hills are also great if you’re into high-intensity interval training, or HIIT. One of the reasons HIIT has become so popular in recent years is that it enables you to get many of the benefits of a long workout in a much shorter time. So if you like running but don’t have time to go for long, leisurely jogs, maybe hills are your thing.

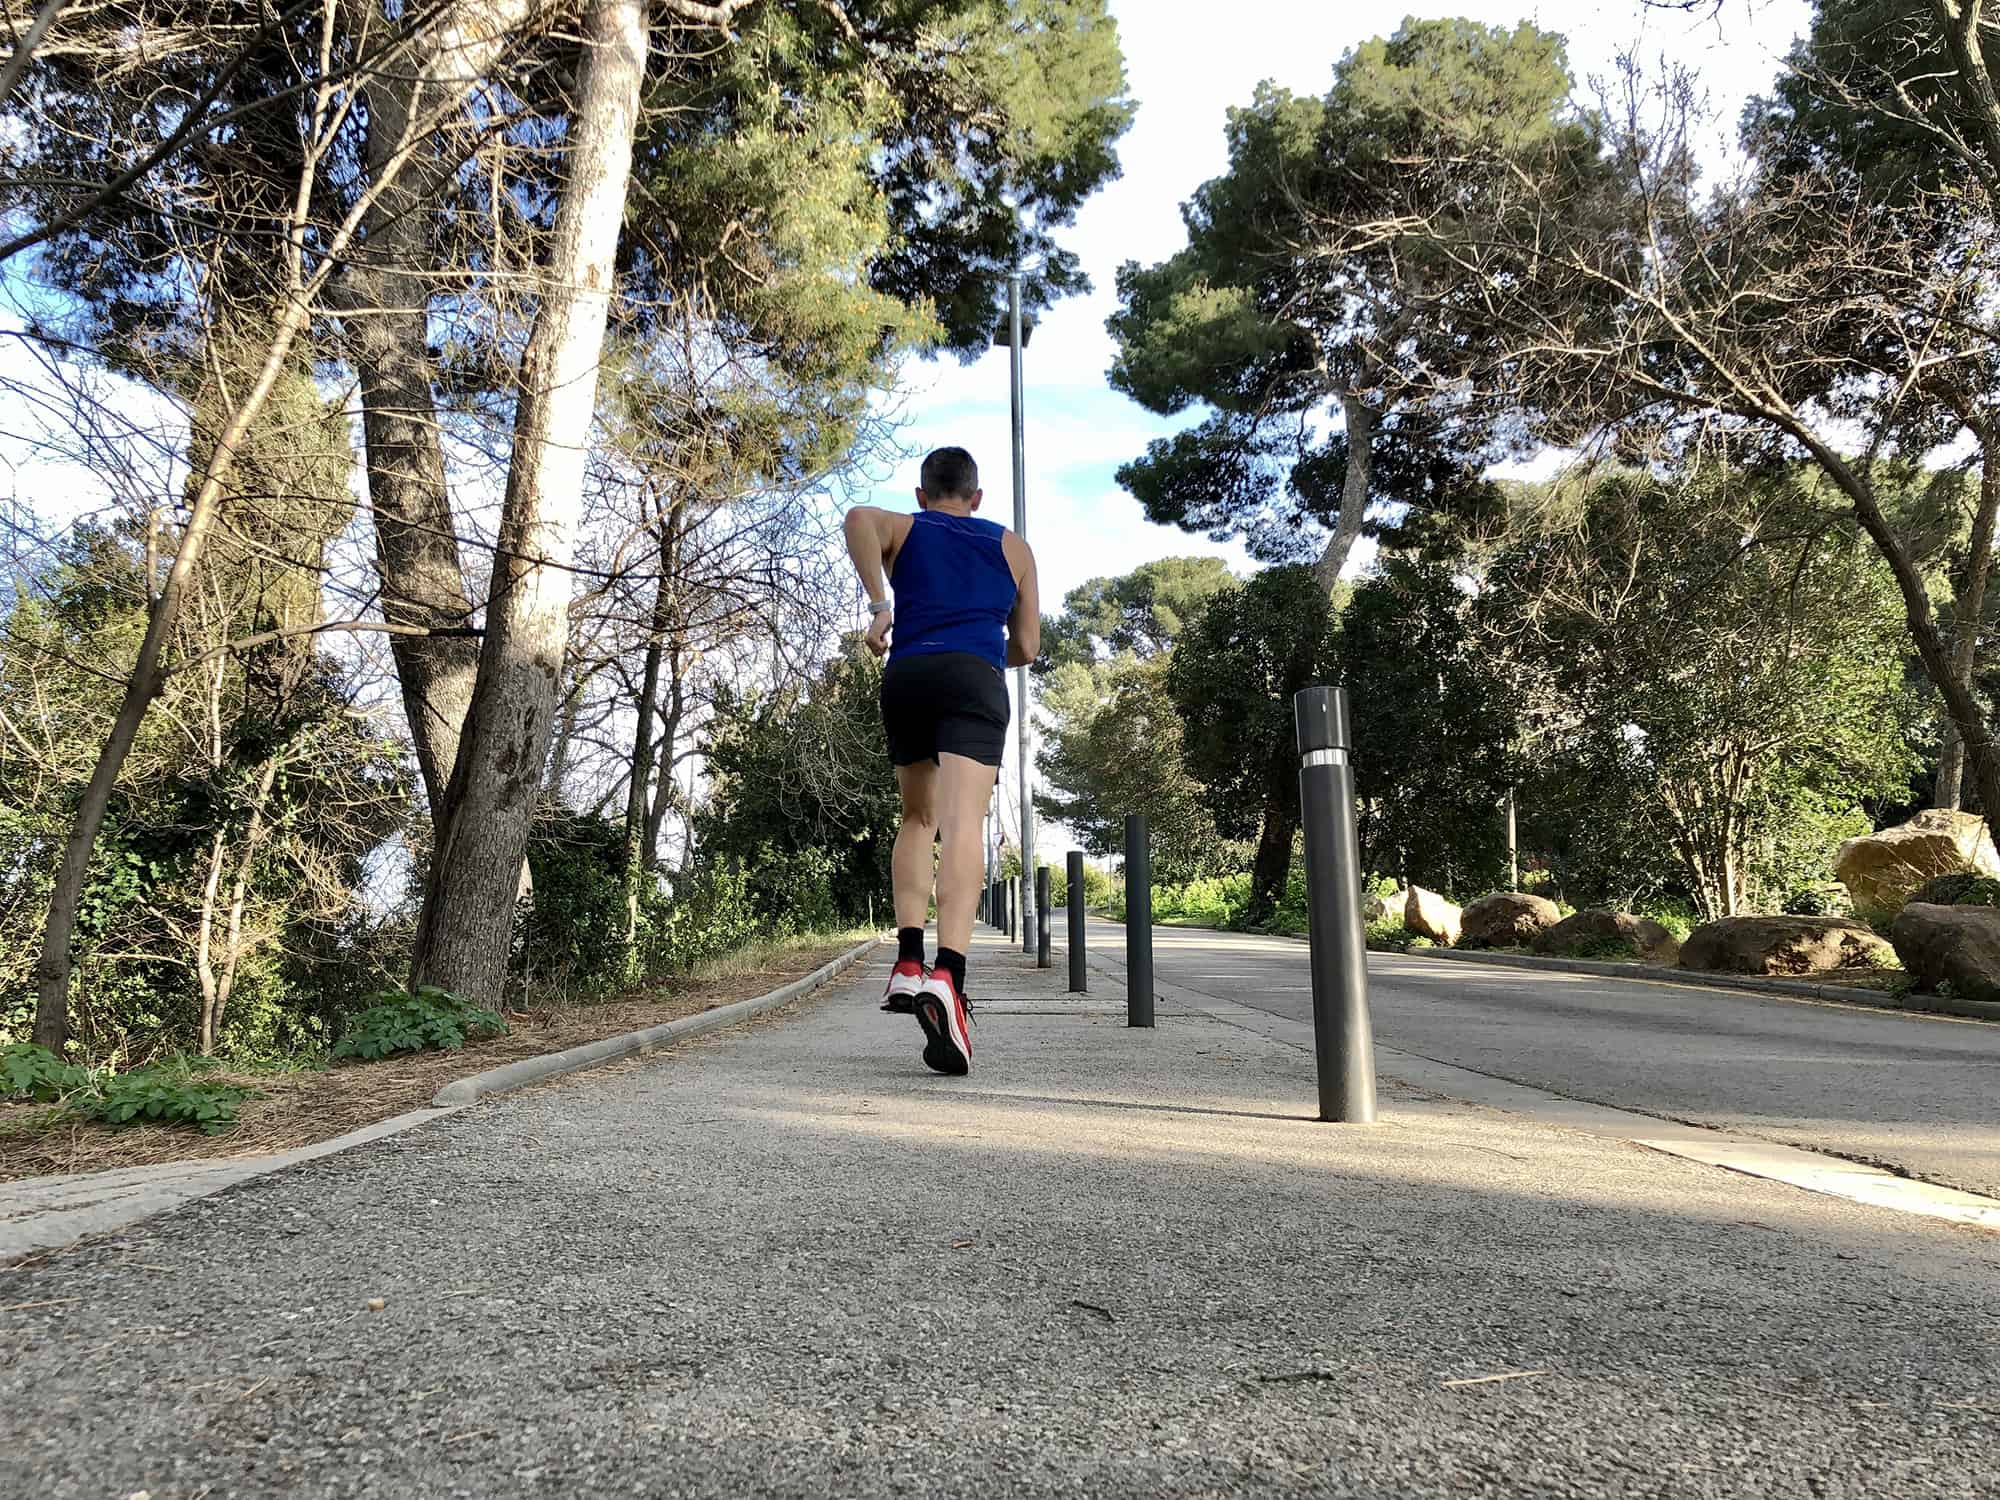
Photo: Graham Bower/Cult of Mac
How your body adapts to hill running
Weightlifters get stronger by gradually increasing the weight they lift over time. Similarly, if you want to become a stronger runner, you need to increase the resistance you work against when you run. And that is exactly what happens when you switch from running on a flat surface to running up a hill.
That’s because your leg muscles are no longer just moving you forward. To get you up the hill, they must lift your body weight upward as well. This extra effort engages more of your leg muscles, including the powerful but hard-to-reach type II fast twitch muscle fibers. This extra muscle strength will make you a faster runner.
Another big benefit is that hills force you to raise your knees higher. That is something most runners need to do in order to improve their form.
Raising your knees high as you run is effectively like spring-loading them. It makes them come back down more powerfully to propel you forward. As you get used to raising your knees higher, this helps you maintain good form when you run on level ground as well. That will make you a faster and more efficient runner.
Use Apple Watch Series 3 altimeter to find the right hill
Because hill training is so intensive, it’s not for beginners. Start with gentle slopes and steadily build up your strength and stamina over a few weeks until you’re ready for something more challenging, like hill repeats. (If in doubt, check with your doctor first.)
When you’re ready to start hill repeats, you first need to find a good hill. Initially, you’re looking for one with a moderate grade, which is around 6 percent or 7 percent.
Assuming you run straight up the hill and the slope is even, you can use your Apple Watch Series 3 to calculate the grade of your hill, thanks to Pythagoras and his theorem. Hold on, things are about to get geeky. (Skip this bit if you hate math.)
In the Workout app, start an Outdoor Run at the bottom of the hill, run to the top, and then finish the workout. The workout summary will show the Distance you traveled and the Elevation Gain. Just subtract the square of the Elevation Gain from the square of the Distance, then calculate the square root of the result. This gives you the Run. Now divide the Elevation Gain (the “Rise”) from the Run and multiple by 100 to get your percentage gradient. Got that? See the equation below.
It would be neat if some aspiring developer created an Apple Watch app to do this automatically. I’m just throwing that one out there!

Photo: Graham Bower/Cult of Mac
Running hill repeats with Apple Watch
Before you get started, it’s a good idea to add the Elevation metric to your Apple Watch display. In the Watch app on your iPhone, go to Workout > Workout View > Multiple Metric > Outdoor Run > Edit. Then tap the green + button next to Elevation Gain to add this to your display.
To begin your hill repeats, start an Outdoor Run in the Workout app on your Apple Watch. Begin with a warmup — a slow jog on level ground for half a mile will do, just to raise your heart rate gently and get your body ready for something more strenuous.
Then run up a hill. You’re looking for a distance you can comfortably do in about 30 seconds. That’s one “set.” Double-tap your watch to mark the end of a workout segment, then take a couple of minutes to walk back down the hill to the start. The walk back is your rest. Double-tap the watch again to mark another segment and then repeat. Aim to complete between four and eight sets.
When you double-tap, check the watch screen to make sure the segment registered. The number of the previous segment should display, together with the elapsed time and distance.
Cool down after running hill repeats
When you’ve finished your hill repeats, go for a cool-down jog of about half a mile to let your heart rate lower gently and your system return to normal. Then finish the workout on your watch.
Because hill repeats are more intense than a normal running workout, they require longer recovery times. So you should not do them more than once a week. (For more tips on integrating hill repeats into your workout program, check out this great article from Runner’s World.)
Viewing your hill training in the Activity app
After your workout, you can gloat over all your hard work in the Activity app on your iPhone. In the Workout tab, select your Outdoor Run workout and wait for all the data to load. Be patient: It takes a while for it to appear, and for some reason segments show up last of all.
When you tap on Segments, it will expand to show the duration, distance and pace for each of your sets and rests. Disappointingly, it does not currently show Elevation Gain for individual sets, but hopefully Apple is reading this article and will add that in a future update.
Look out for how your time changes with each set. You should aim to complete every set at the same pace. So if you see your pace decreasing during the workout, you should start out a little slower next time.

Photo: Graham Bower/Cult of Mac
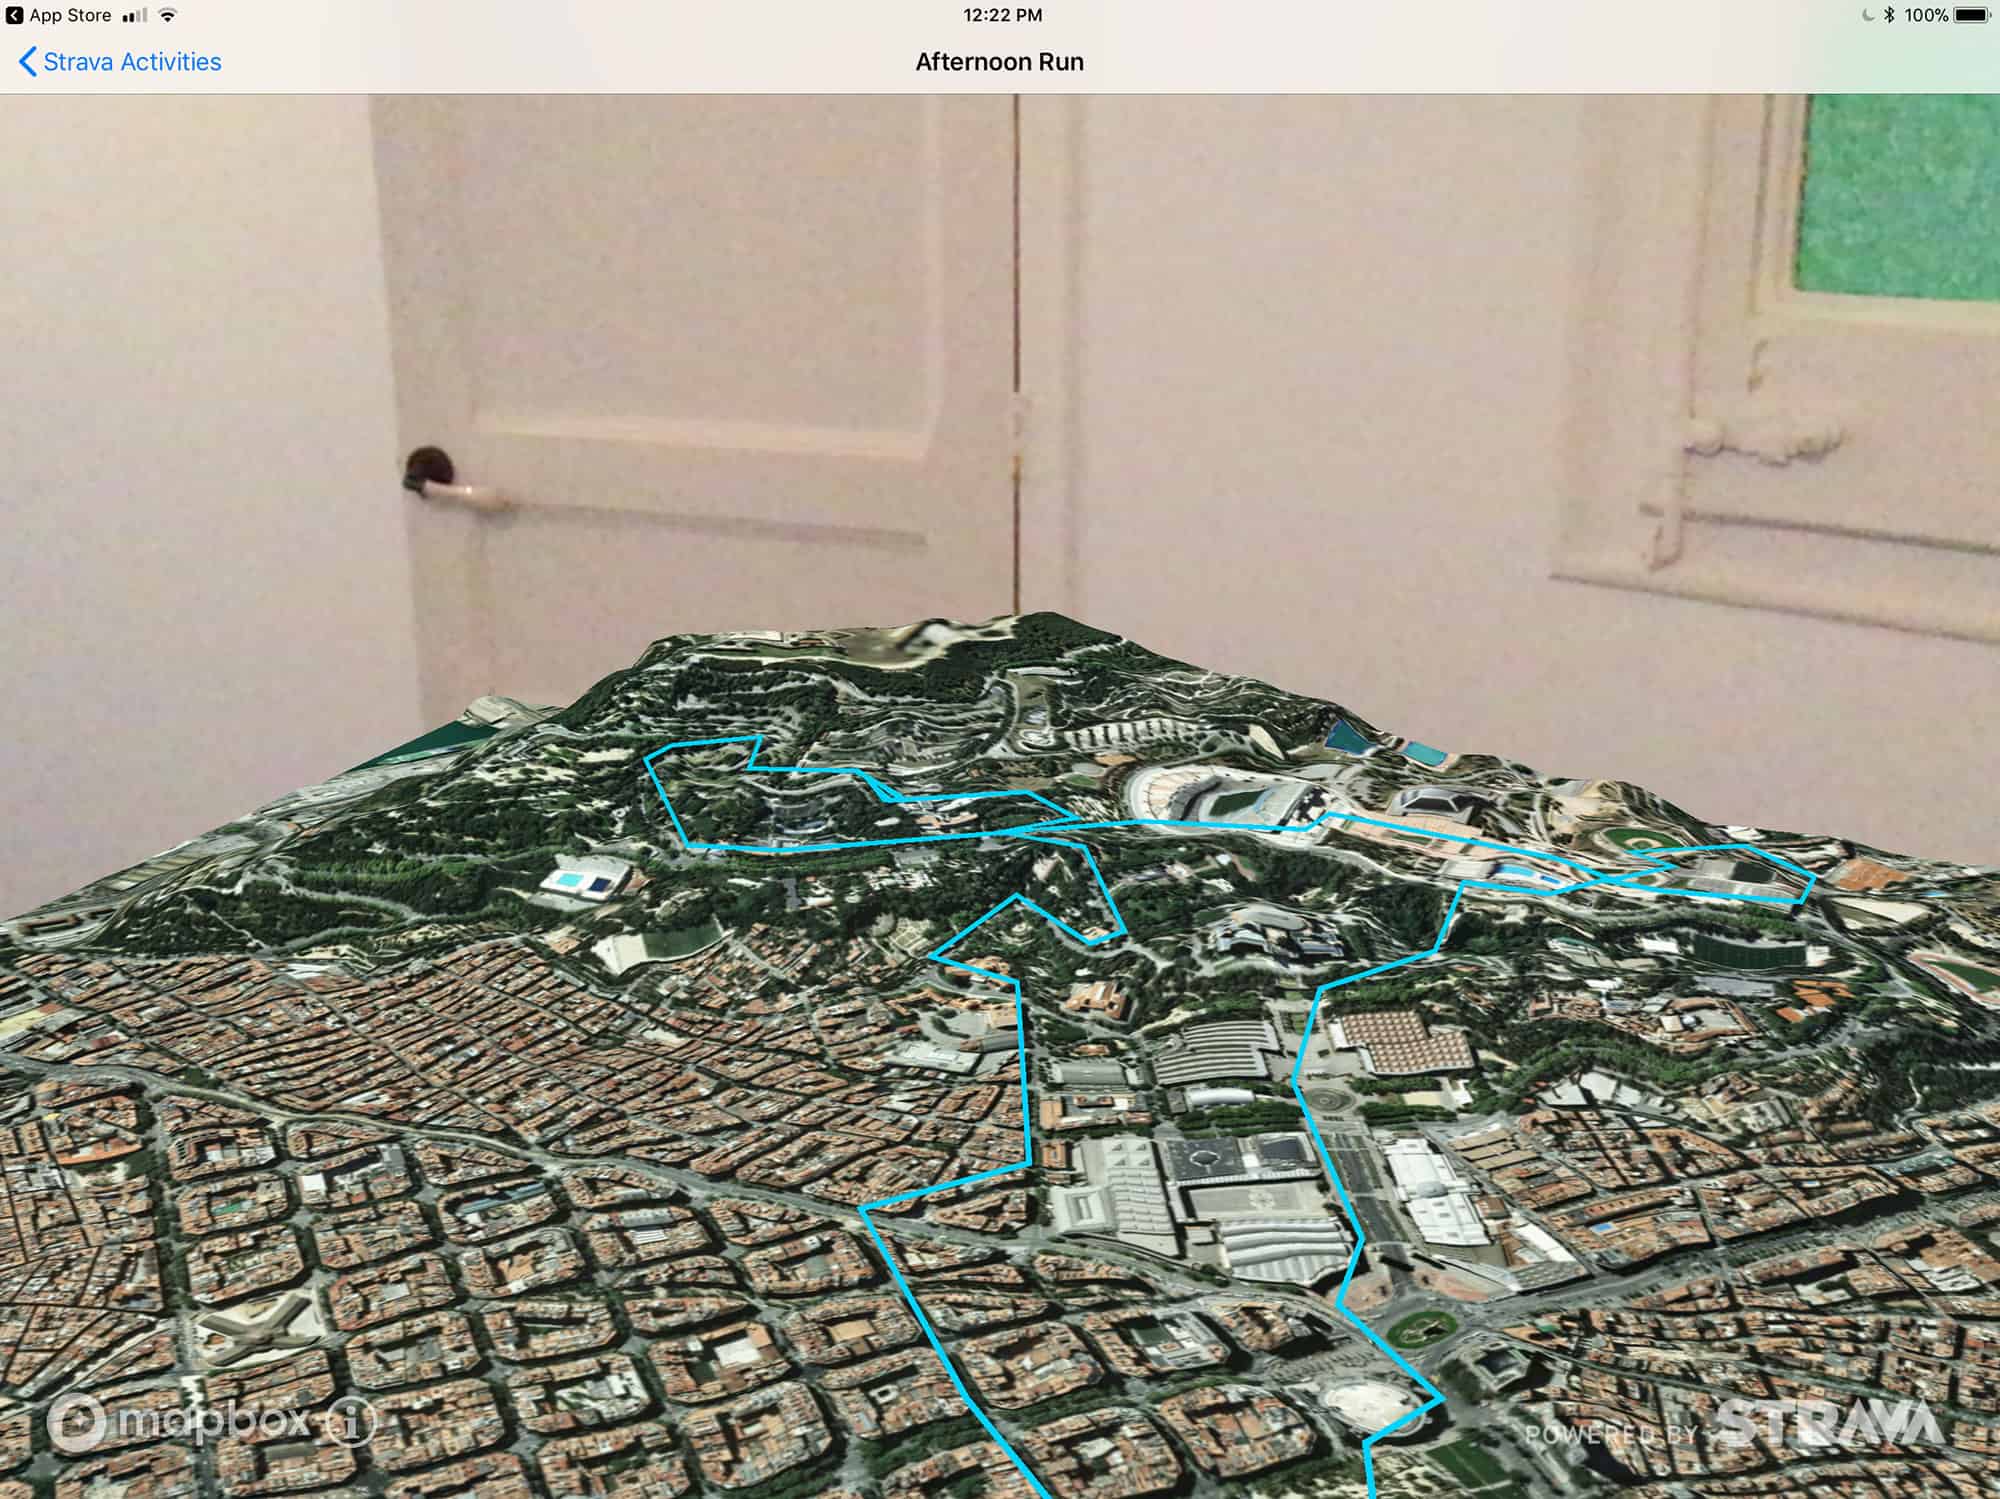
Get awesome AR views of your hill workouts with Strava
I prefer to use the built-in Workout app to track my runs. I find it has the best design, most features and is more reliable than third-party apps. But the stats you get in the Activity app afterward prove quite limited.
Fortunately, you can now export workouts from HealthKit and view them in third-party apps. Strava, for example, provides charts that visualize the changes in your elevation. Check out Strava’s awesome Fitness AR app for an incredible augmented reality view of your hill workouts.
We climb a step every day
Hopefully this will inspire you to give hill training with Apple Watch a try. It’s a great way to take your running to new heights.
It’s one of the most challenging forms of training a runner can do, but it’s also one of the most rewarding. Plus, it can give you an endorphin rush that will leave you on a high for hours after your workout … or maybe that’s just me.


Leave a comment