How to start swimming with Apple Watch

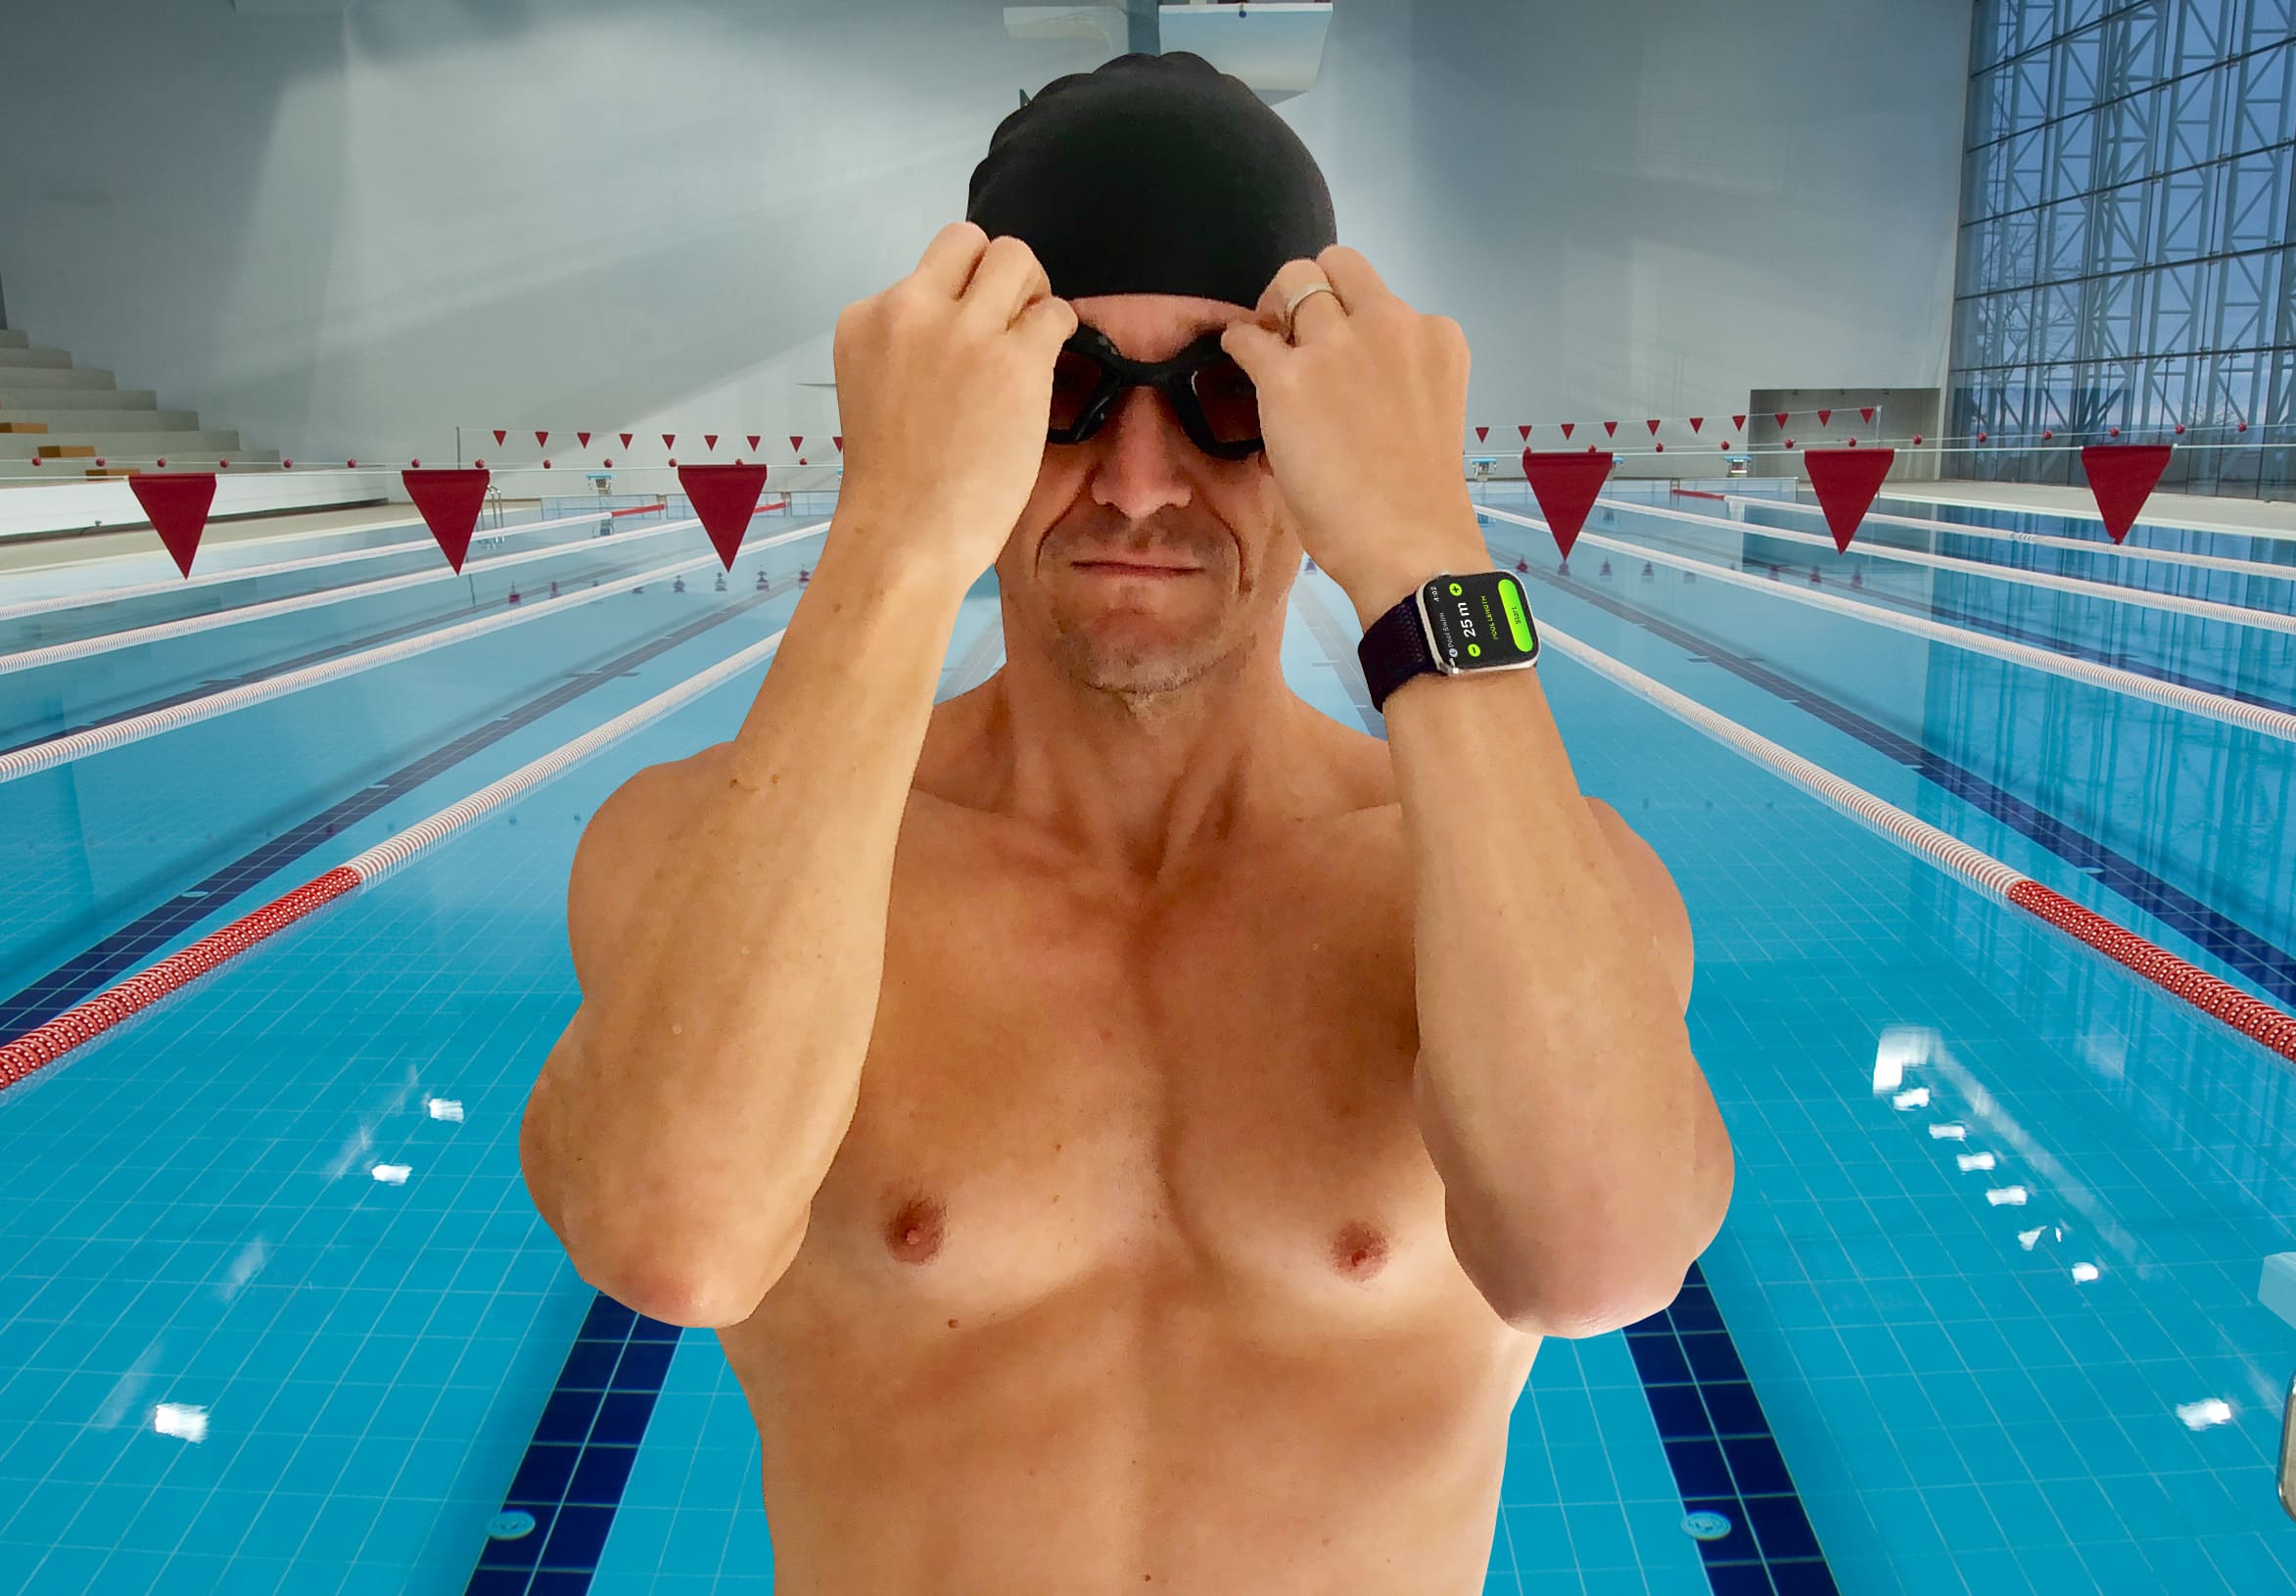
While many of us learn to swim at school, plenty of people never return to the pool as an adult. If that sounds familiar, but your shiny new Apple Watch Series 4 is tempting you to dip your toe in the water again, this guide to swimming with Apple Watch is for you.
We’ll take a look at what equipment you’ll need, how to use your watch for swimming, how to structure your workouts for maximum fitness gains, and how to track your progress in Apple’s Activity app.
Let’s dive in and start swimming with Apple Watch.
Apple Watch swimming guide
First things first. You need to make sure your Apple Watch is waterproof. Which is not as simple as it sounds, because there’s both the watch itself and the strap to consider.
All Series 2 and newer models are waterproof and support swimming workouts. (If you still have the original Apple Watch, or Series 1, you’ll need to upgrade.) But even if your watch is waterproof, your band might not be.
Choose the right accessories for swimming with Apple Watch
Apple’s fluoroelastomer Sport Band (including the Nike version) is probably the best choice for swimmers, since it is waterproof and dries quickly. The stylish new Sport Loop is also an option. But since it is made of woven nylon, it takes longer to dry out and is harder to keep clean.
All Apple’s other bands are made of steel or leather, so they’re not suitable for swimming. (Check out the Cult of Mac Watch Store for a great selection of third-party sport bands, including several silicone Apple Watch straps.)
In addition to your watch, you’ll also need swimwear. The dress code varies from one pool to another. In some places, Speedo-style briefs are not allowed. Some pools ban baggy shorts. Swimming caps may also be mandatory. If you’re going to a new pool, check on its website first to make sure you have the right outfit.
Also, don’t forget to take goggles, a towel, a padlock for the lockers (or the right coin for a locker deposit), plus ear plugs and/or a nose clip if you need them.
Pick the right view in the Workout app
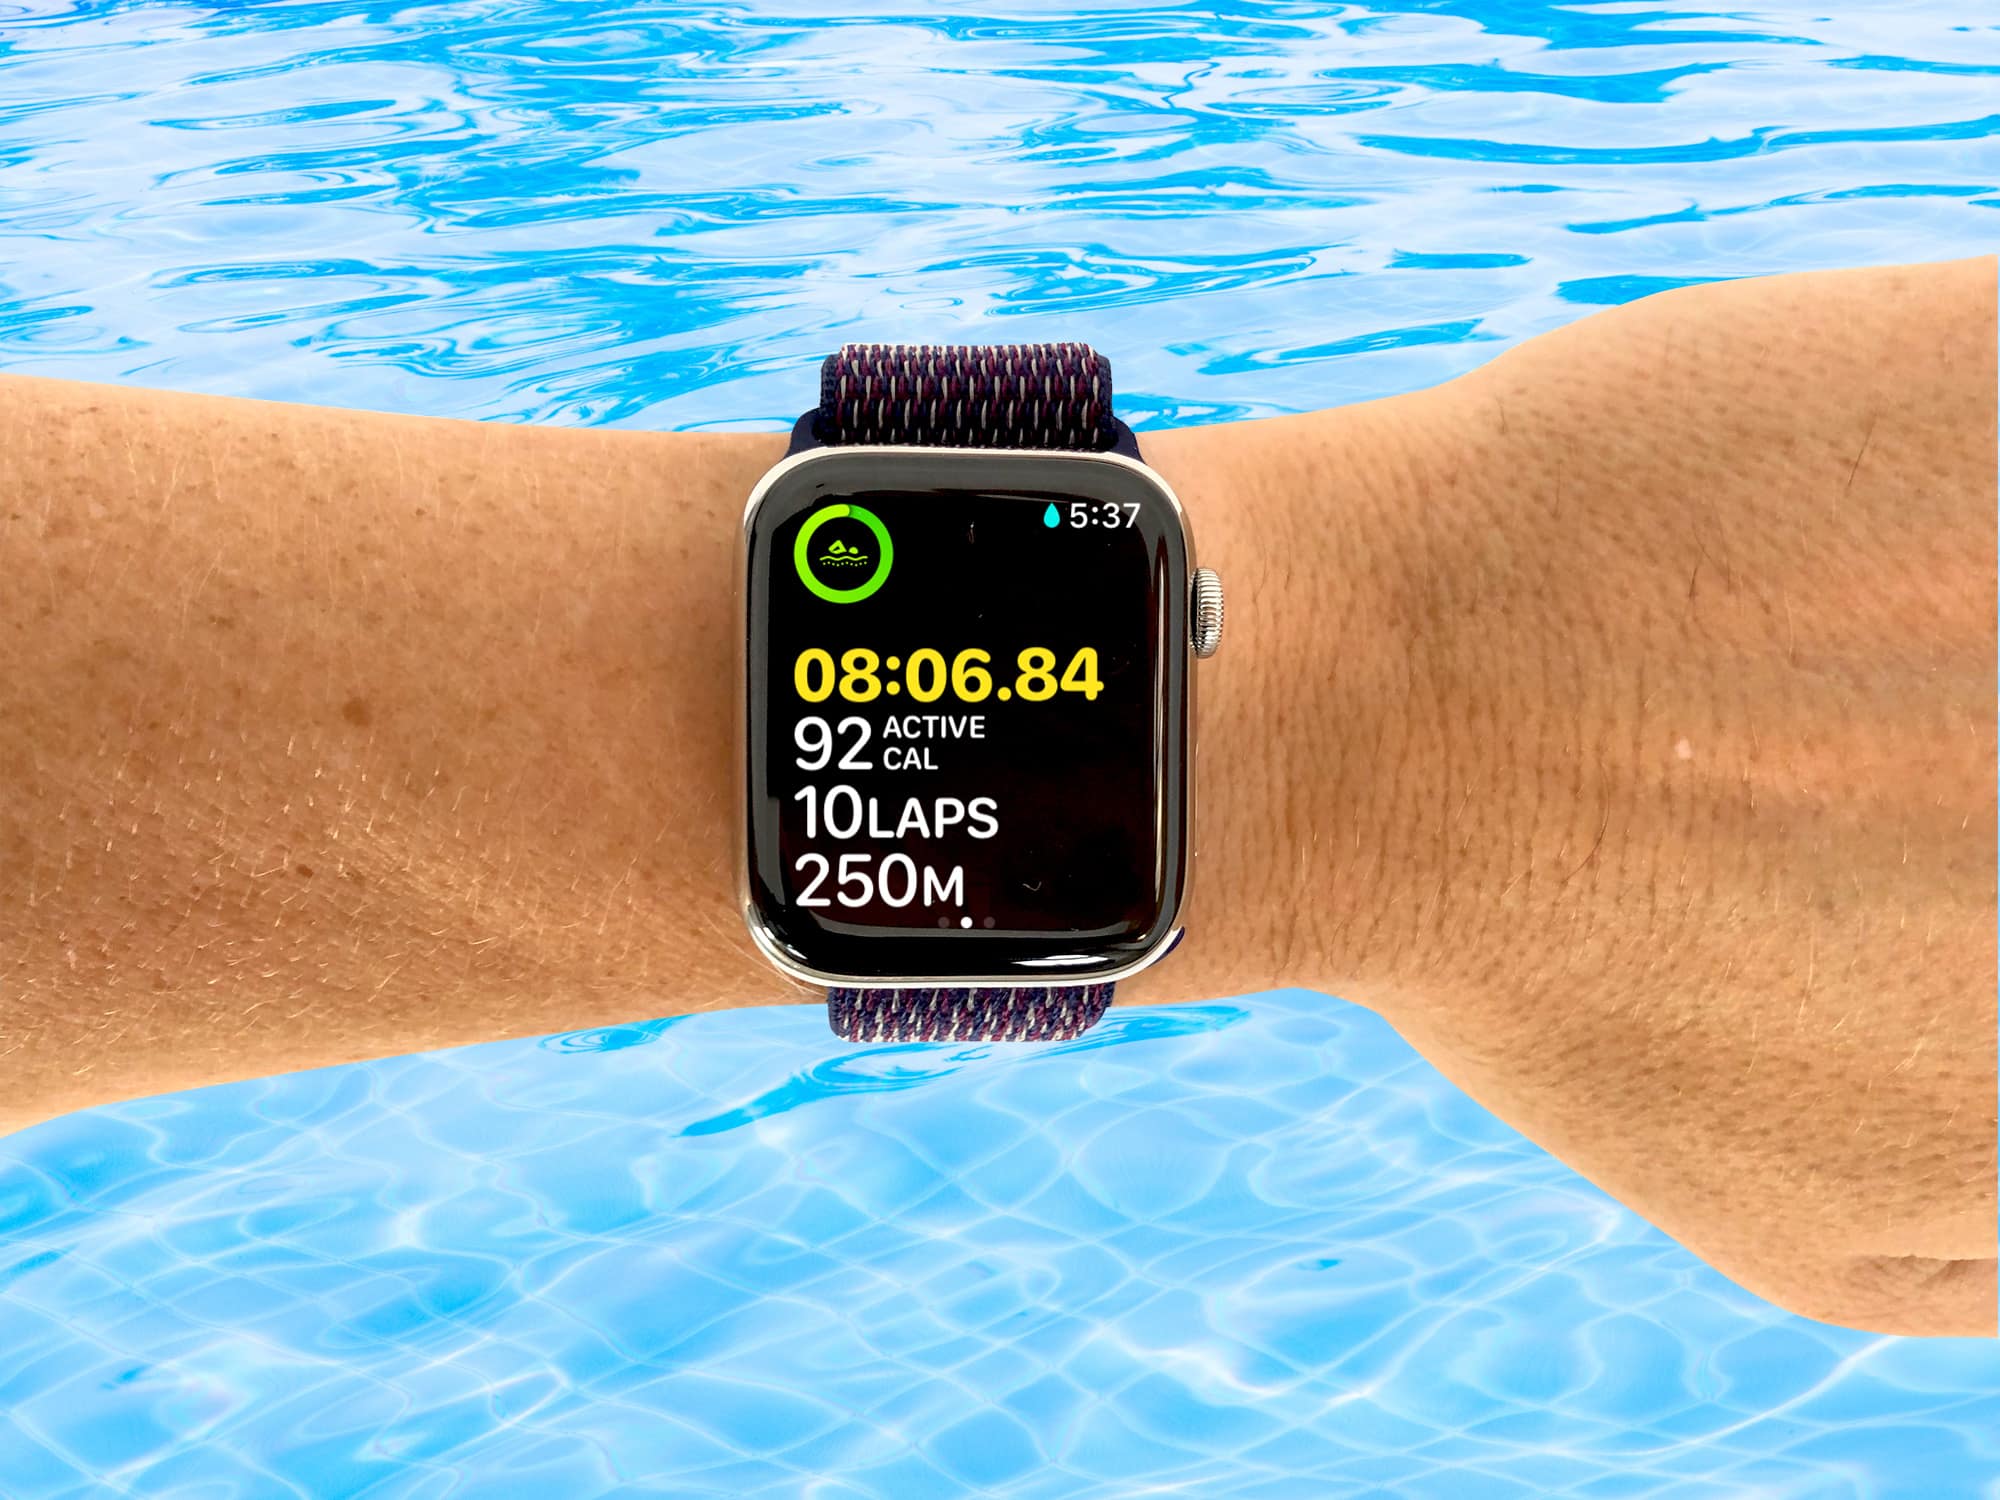
Apple provides two alternative layouts for the display of the Workout app: Single Metric and Multiple Metric. For most workout types, the best layout depends entirely on personal preference. But for swimming, Multiple Metric is undoubtedly the best option.
Why? Because in the Single Metric view, you use the Digital Crown to scroll between metrics. Since this is disabled in Apple Watch’s waterproof mode, you’ll be stuck with one metric for the entire workout.
So, before you get in the pool, make sure you have selected the Multiple Metric view. On your iPhone in the Watch app, go to Workout > Workout View > Multiple Metric.

Photo: Graham Bower/Cult of Mac
Make sure you know the length of the pool
One essential thing you need to know before diving in is the length of the pool.
You could always guess, but 25-yard and 25-meter pools look very similar. And if you guess wrong, the error will mess up all your stats. The problem is that your watch can’t get a GPS signal indoors. So, instead, it uses its built-in accelerometer to detect when you turn at the end of each length. It then multiplies the number of lengths you complete by the distance you entered at the start to calculate the overall distance you completed.
So if you enter 25 yards when the pool is really only 20 yards long, your stats will be off by a whopping 25 percent.
By the time you get into the pool, it’s usually too late to find out, because the length is often not indicated at poolside. So remember to ask at the front desk when you first arrive.
Start your workout before you get wet
When the touchscreen on your Apple Watch gets wet, it can become difficult to operate. (Geeky explanation: It uses the dielectric properties of your skin to detect when you touch it, and the water in the pool has similar dielectric properties.)
Just remember to tap the Start button before you get into the pool, while your Apple Watch is still dry.
Using your Apple Watch when wet
As soon as you start a swimming workout, your Apple Watch will enable waterproof mode. This disables the touchscreen to prevent it from getting confused by the water.
But the good news is that it does not disable all the controls. You can still pause and resume your workout by pressing the side button and the Digital Crown at the same time. And tapping the screen will wake your watch from sleep.
The even better news is that most of the time you won’t need any controls while you are in the pool. Your Apple Watch detects your rest times, your segments and which strokes you are doing automatically.
When you’ve finished swimming, press the side button and Digital Crown together to pause the workout. Then you can get out of the pool and dry off before scrolling the Digital Crown to disable waterproof mode and finish the workout.
How to structure your swimming workout
If you are serious about getting in shape, it’s no good just messing about in the pool. You need to structure your swimming workout to maximize your fitness gains.
There are four main parts to a swimming workout:
- Warmup: To avoid injuring yourself, take it easy when you first get into the pool. Swim a few slow lengths to gently raise your heart rate and let your body adjust to the water temperature. Don’t worry if your Apple Watch does not display your heart rate — this rarely works when in the water.
- Drills: These are special exercises to focus on improving your swimming technique (.pdf). For example, kicking drills involve holding a kickboard in your hands, so you can focus on how you move your legs. Pull drills are the opposite: You grip a pull buoy between your legs, so you can focus on arm movements while you swim. Most public swimming pools provide plenty of kickboards and leg floats, stacked by the side of the pool. To find out more about drills, check out MySwimPro (more details below).
- Main set: This is the meat in the sandwich (or vegan meat substitute, in my case). It’s where you do the hard work and put the skills you developed in your drills into action. You can structure this as an interval session, aiming to do a number of “sets” of a certain number of lengths at a target pace, with short rests between each set.
- Cool down: After the intensity of your main set, it’s important to do a few nice slow lengths at the end to bring your heart rate slowly back down and let your system adjust.
Use third-party apps to log kicking drills
Thanks to its ability to detect segments, rest and strokes, Apple’s built-in Workout app is great for logging swimming workouts. However, it has some limits. Most importantly, it does not log kicking drills. (When you hold a kickboard in your hand, your wrists don’t move, so your watch can’t detect the motion of the stroke.)
If you want to log your drills, give MySwimPro a try. It’s an excellent third-party swimming app for Apple Watch. It lets you log every aspect of a swimming workout in thorough detail. Plus, it provides great preprogrammed workouts, one-to-one advice from an expert swimming coach, and very clear how-to videos that show you how to improve your technique.
Check out this explanatory video from MySwimPro CEO Fares Ksebati for more details on how to structure your swimming workout.
View your progress in the Activity app
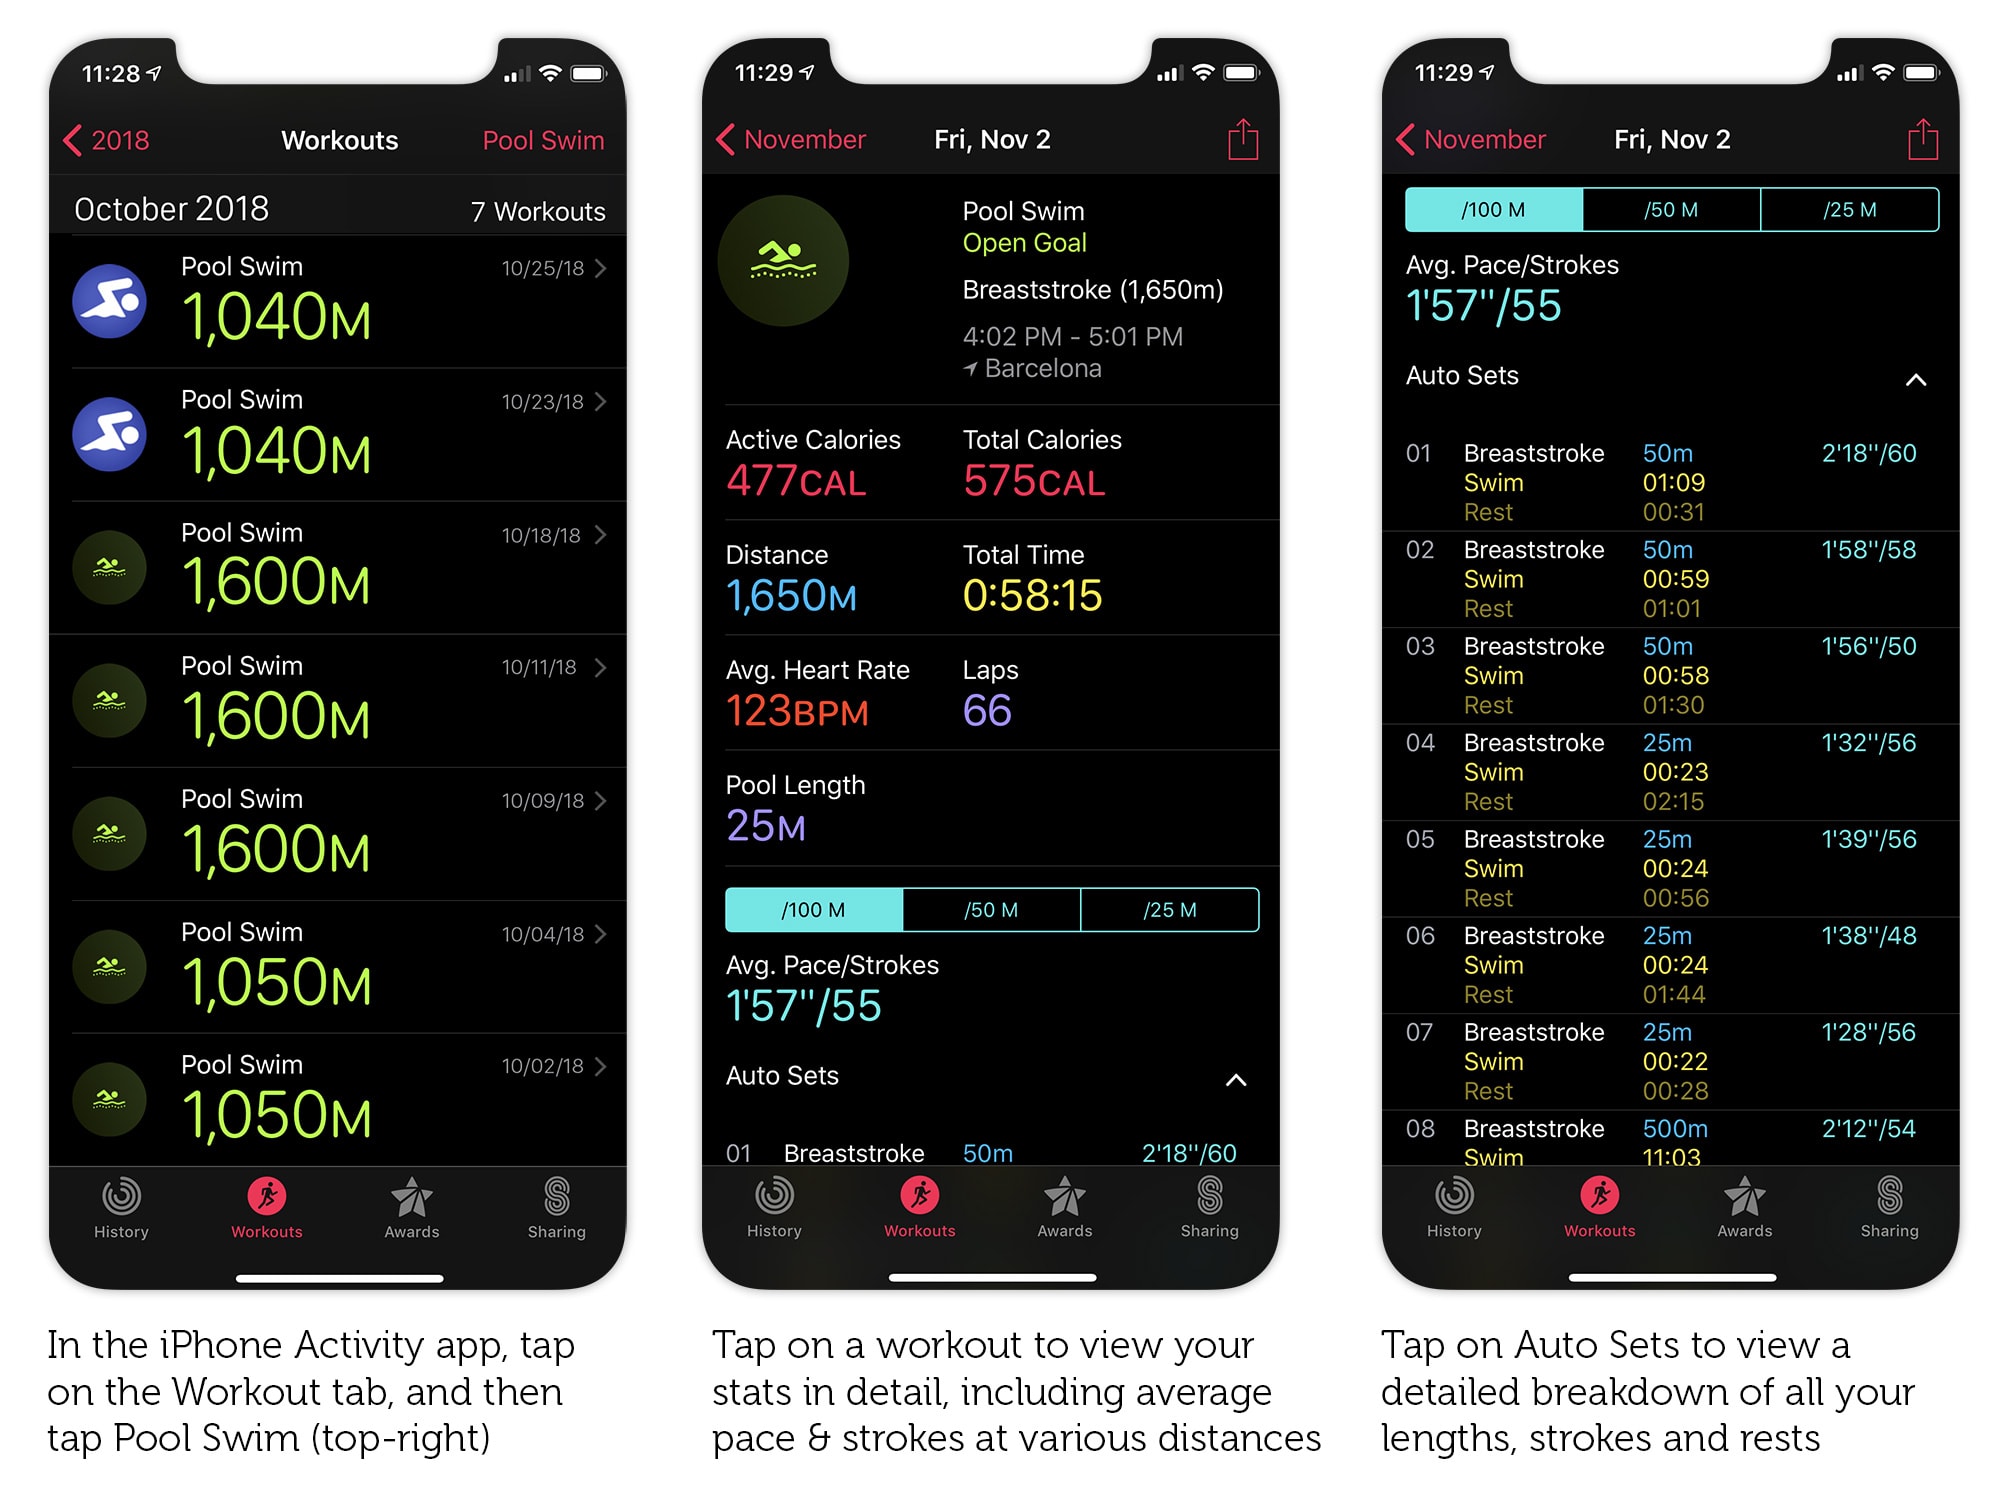
Whether you use the built-in Workout app, or a third-party app like MySwimPro, your swimming workouts are displayed in the Activity app on your iPhone.
The Activity app focuses on your Activity rings rather than your workouts, but if you know where to look, it still provides loads of interesting stats.
By default, when you tap on the Workout tab, you get a chronological list of all your workouts. But if you tap All Workouts (top-right), you can filter by Pool Swim. Tap on an individual workout to get more details, including your average pace and average number of strokes for various distances.
If you swam a mixture of different strokes during your workout, tapping on Auto Sets will reveal which strokes were detected in each individual set. It also shows the rest intervals between sets.

Photo: Graham Bower/Cult of Mac
Take the plunge and swim with Apple Watch
If you haven’t been swimming for while, it might feel a bit daunting to get back in the pool. Some people also feel self-conscious about wearing swimwear in public. But there’s really nothing to worry about. You’ll find people of every ability and body type at a public swimming pool, and there’s zero judgement. Everyone is just getting on and doing their thing.
Swimming is a fantastic form of exercise because the water cushions impacts and supports you as you move. Which means it is far gentler on your joints than running. It also feels totally awesome to be floating in water. So, what are you waiting for? It’s time to strap on your Apple Watch, slip into your Speedo, and take the plunge.
For more advice, be sure to check out our handy top 10 tips for swimming with Apple Watch.


Leave a comment